
It’s been a few years since I first wrote about passing an hour of free TMO Gogo inflight to a Mac. We are on our way from Panama City to LAX (7 hour flight) and boarded an old Boeing 757-200ER that still rocks the old Gogo internet – woohoo! If you’re on a Delta jet with the new Ku wireless system, the instructions below likely do not work for you.
1. Open/switch to Safari and verify the “Develop” menu is present, between Bookmarks and Window menu options, in the menu bar at the top of your screen. If not, enable it with these instructions – and for those who cached my page before going taking flight, go to the menu bar and choose Safari->Preferences, click the Advanced tab, and check the box for “Show Develop menu in menu bar” – these instructions still work in macOS Monterey.
2. From Safari’s Debug menu open a new browser window/tab, preferably in incognito mode (command shift N), and choose Develop->User Agent->”Safari – iOS 14.0 – iPhone” (iOS version number doesn’t matter).
3. Go to the airport menu in the menubar on your Mac and join “DeltaWiFi.com”.
4. A new Safari window will probably pop up on it’s own, quickly go to Develop->User Agent and make sure there’s a check mark next to “Safari – iOS 14.0 – iPhone” or similar and, if not checked, select it to re-select it.
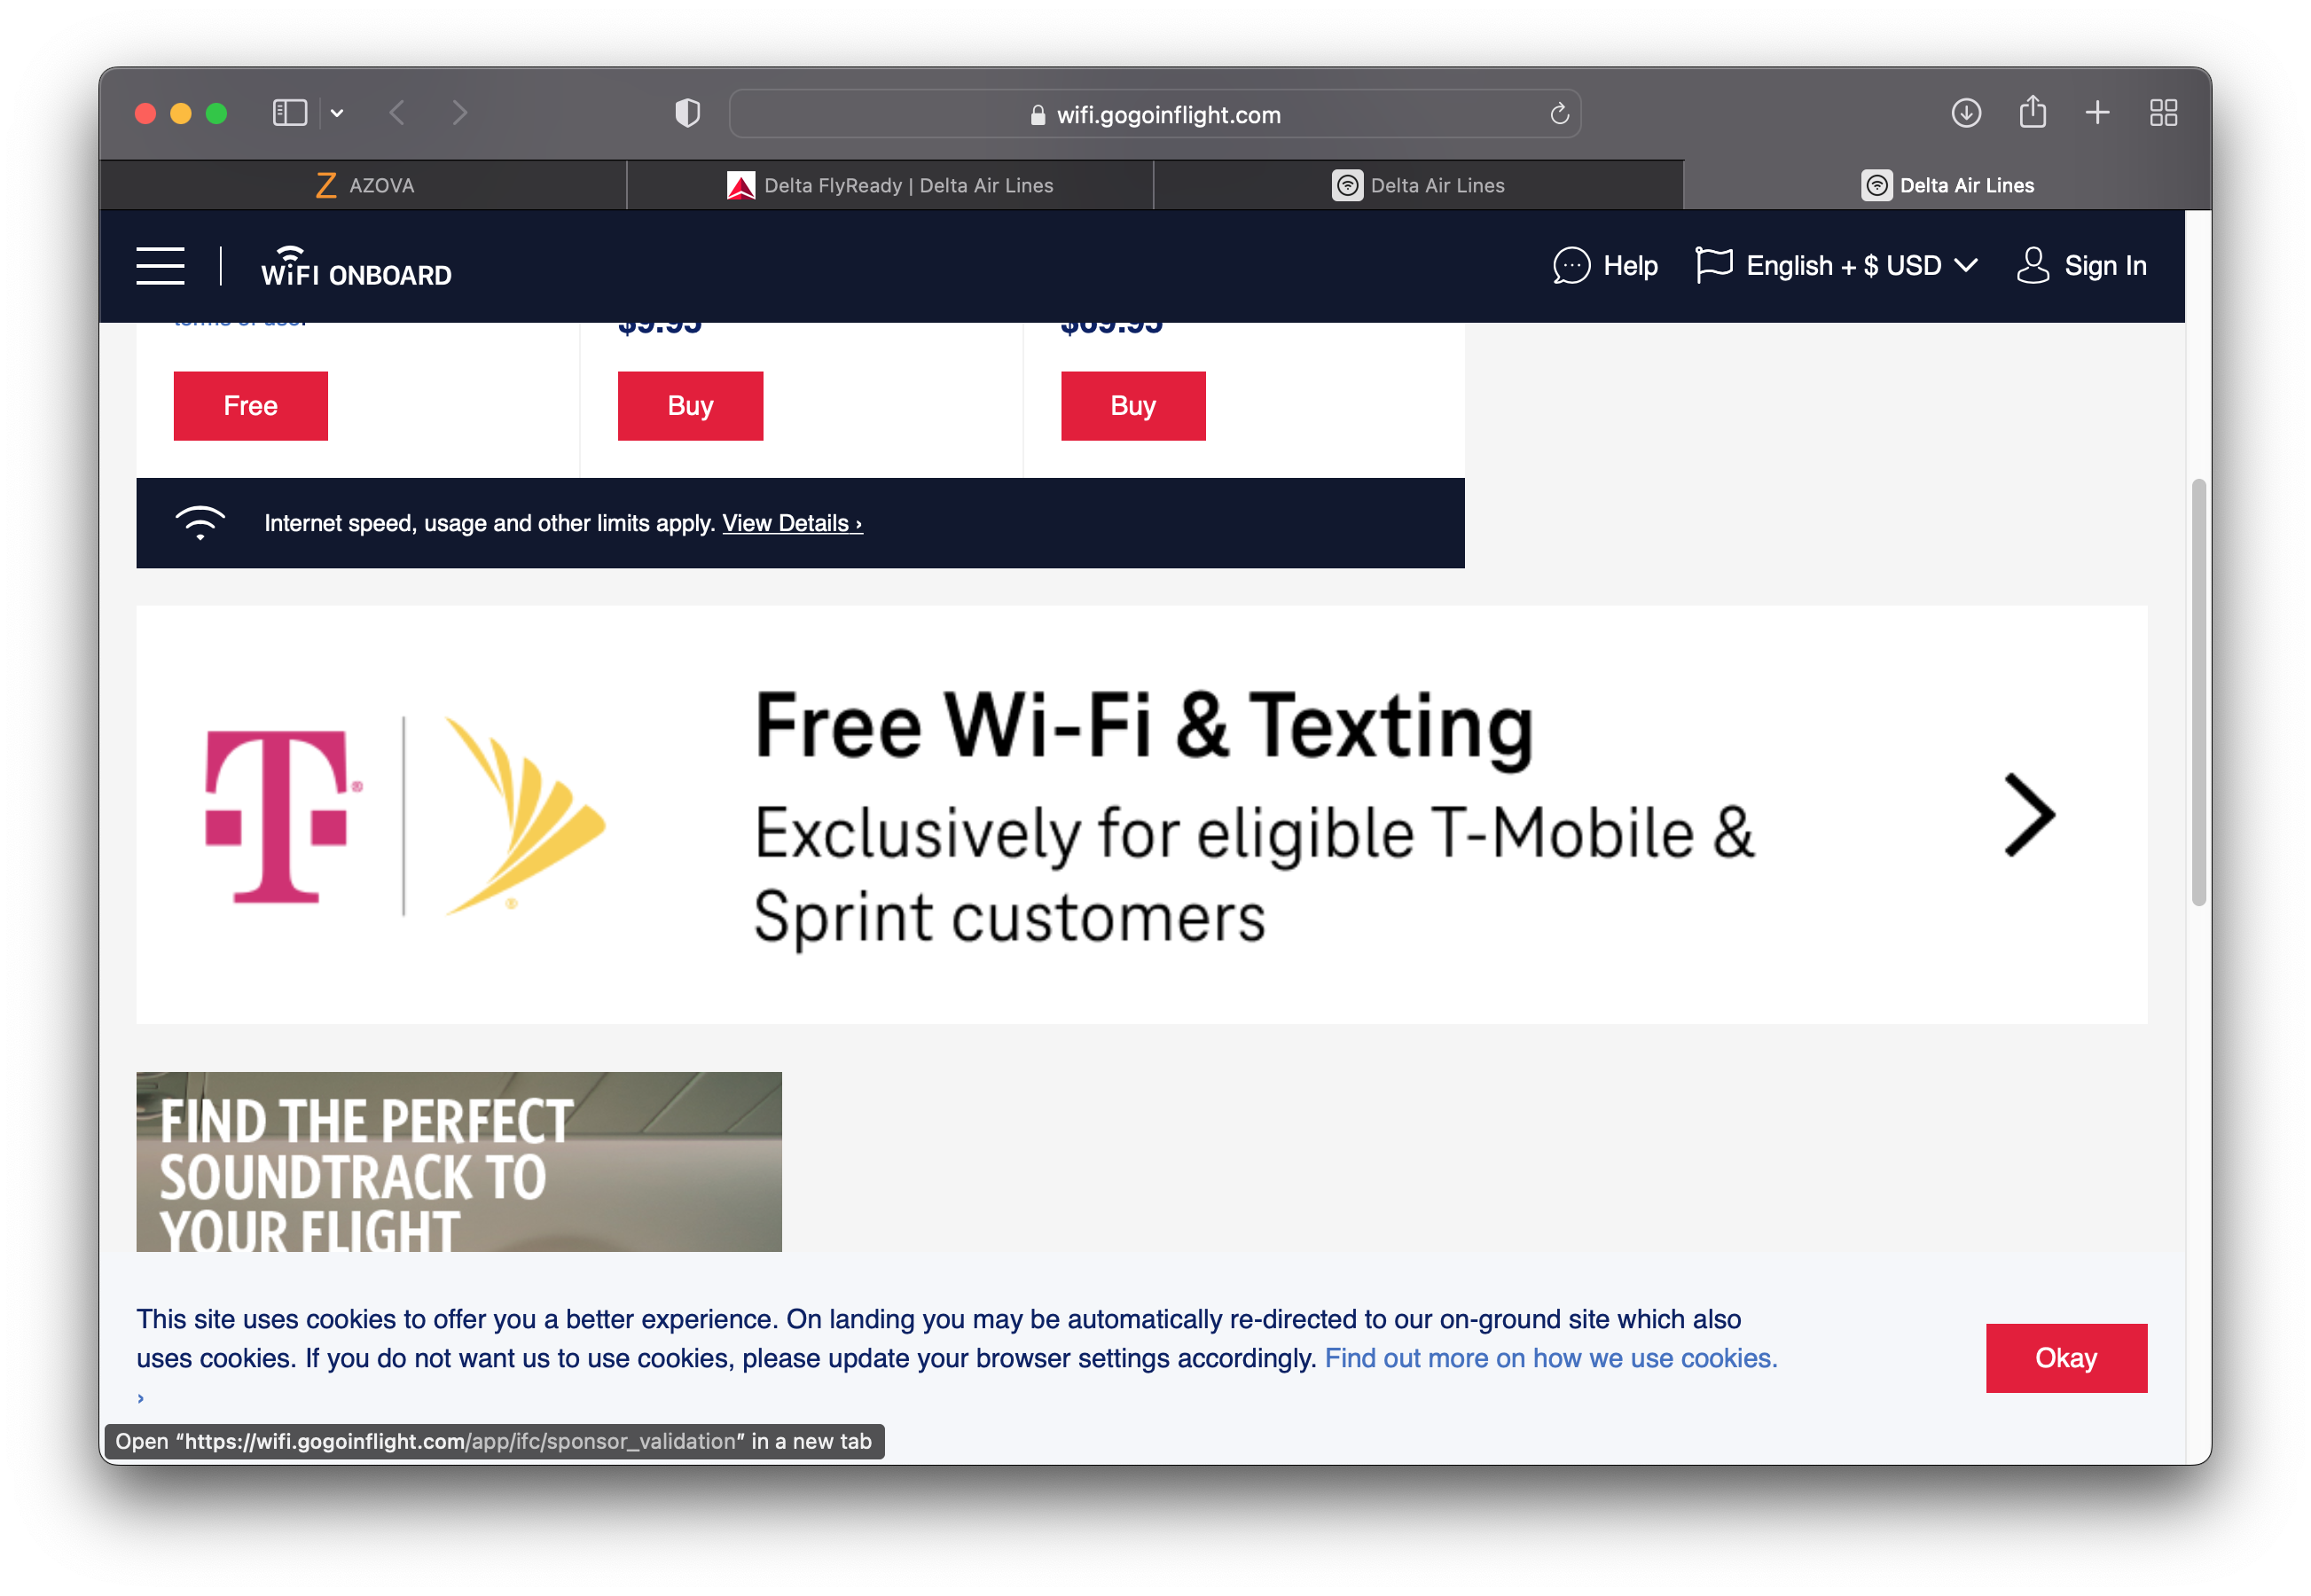
5. On the DeltaWiFi.com page that loads, you should be able to scroll down to see the pink TMO option. If the graphics and text are too large, command and “-” to make it fit in your window better. If you don’t see the TMO pink banner, try opening a new window/tab in incognito mode and make sure you completed step 3:
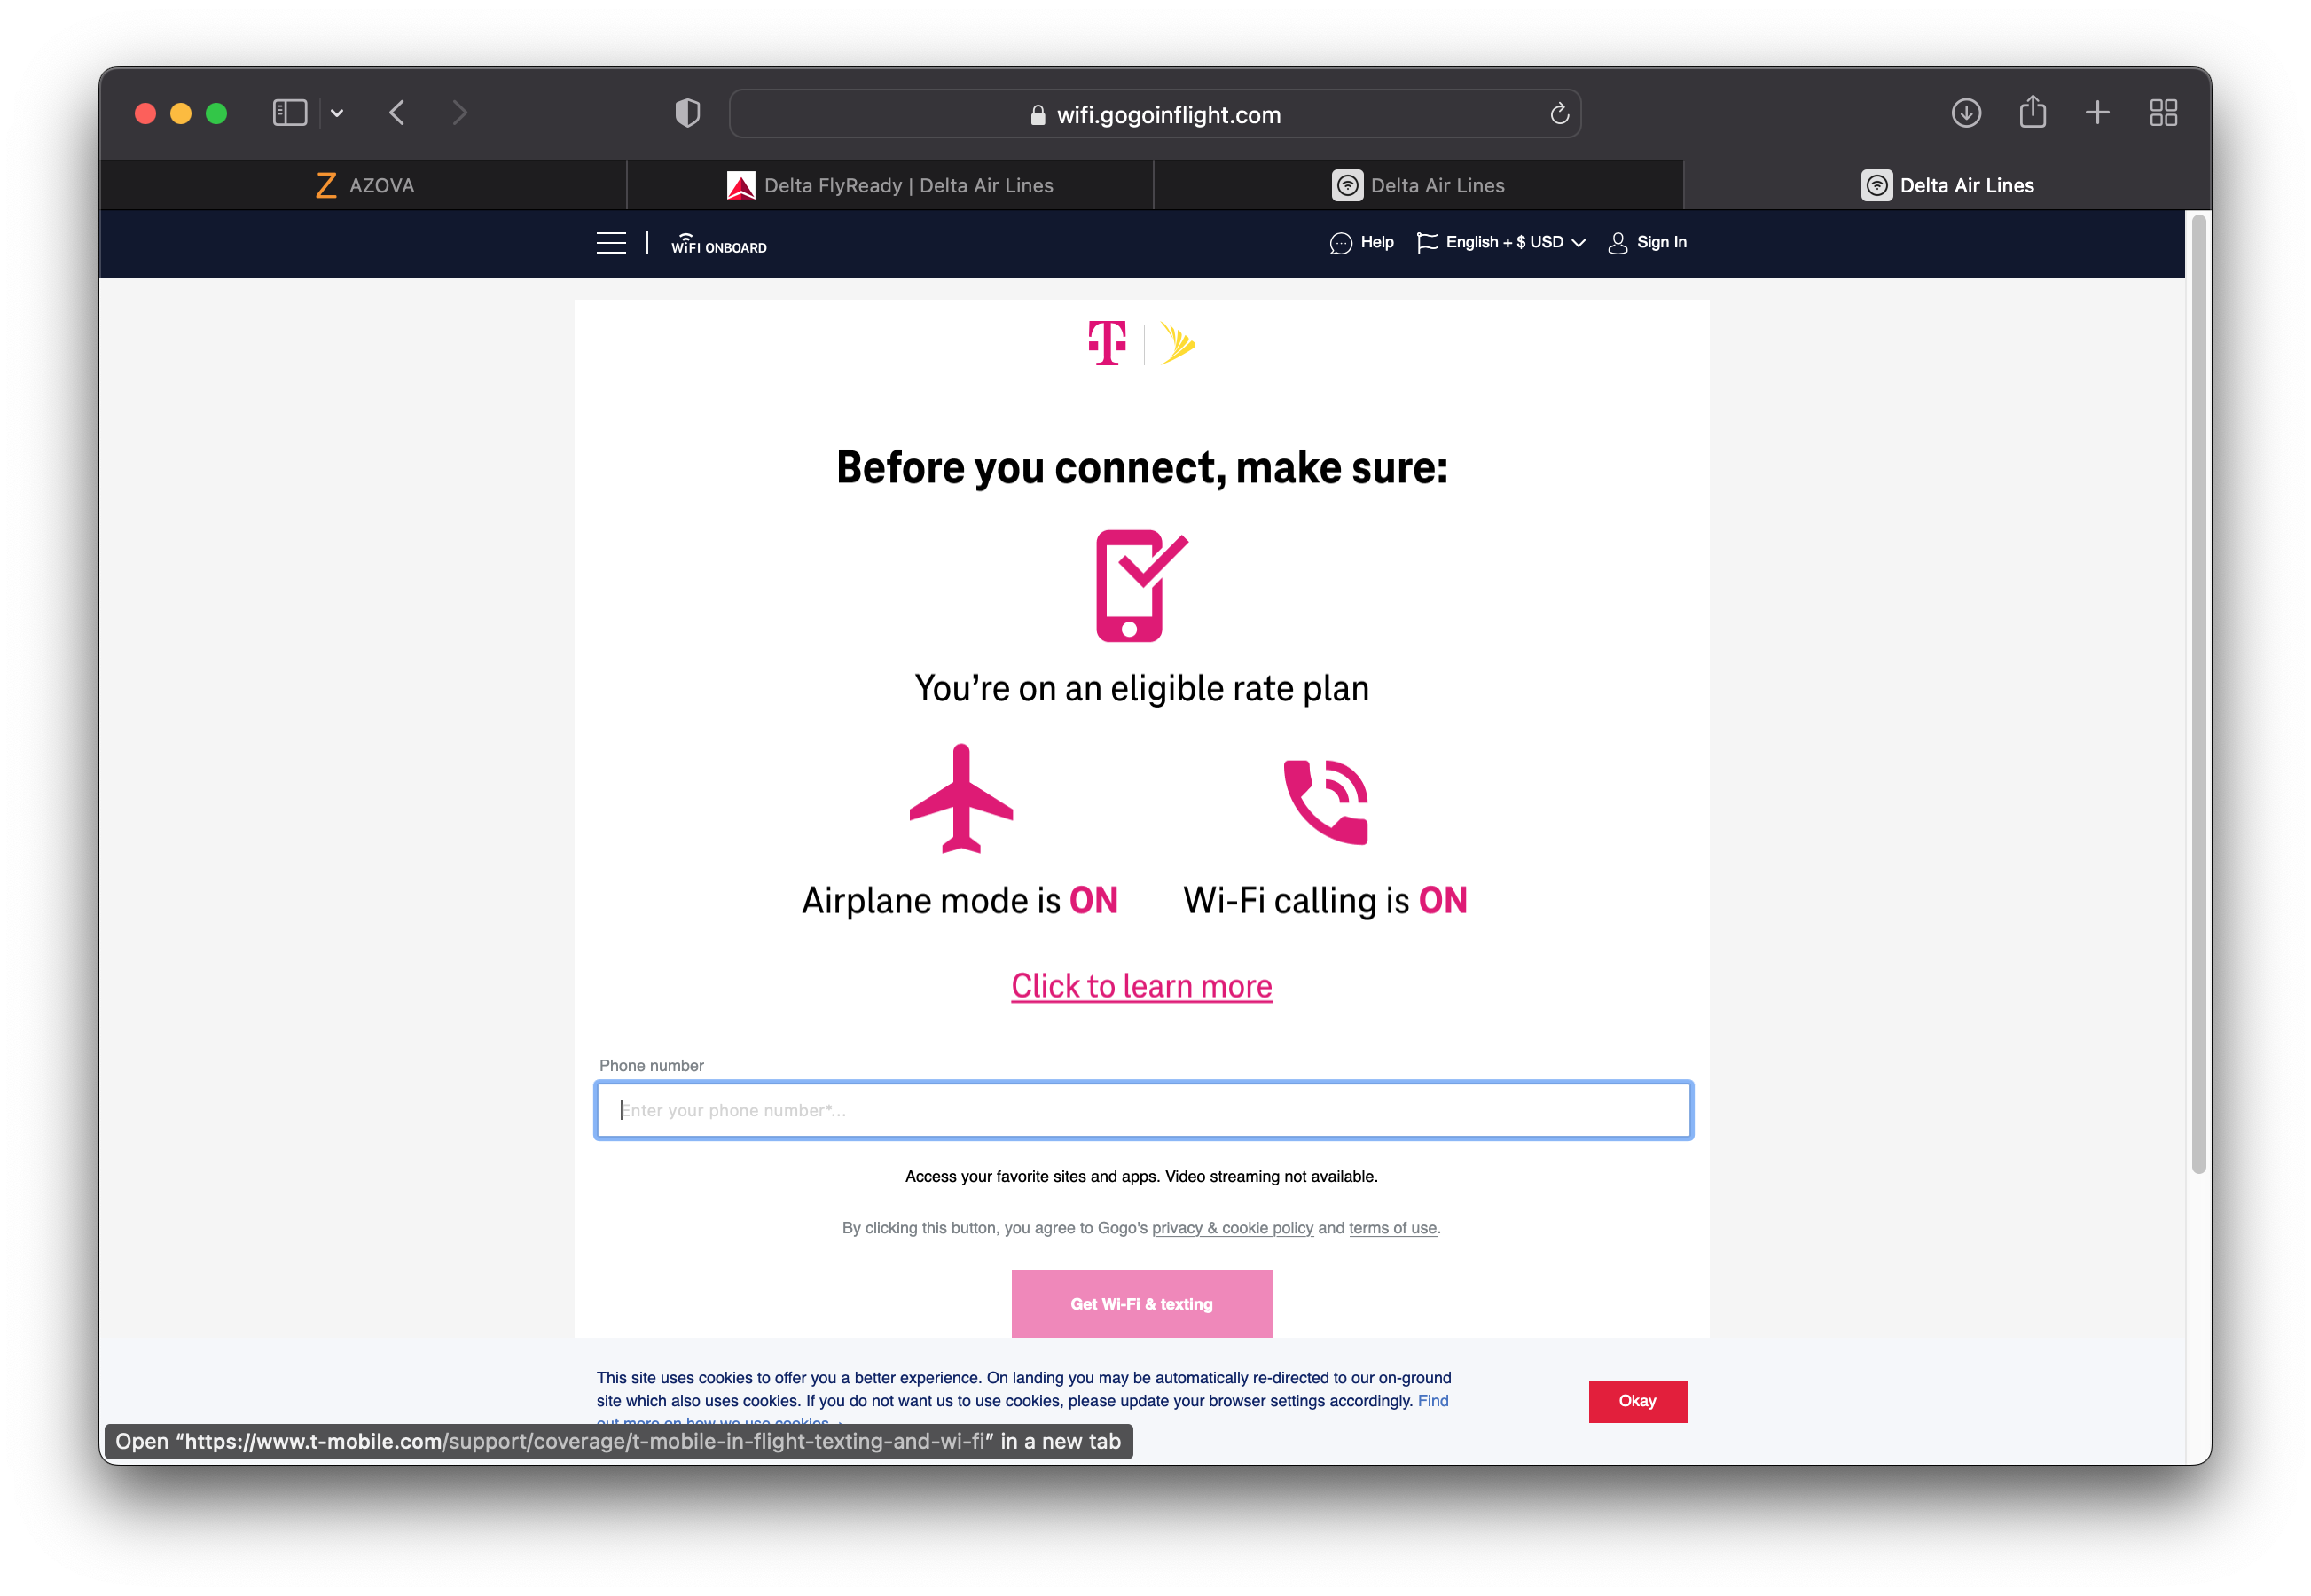
6. Enter a TMO phone number. Each time you request a free hour it must be the first time you tried with a specific TMO phone number for that flight.
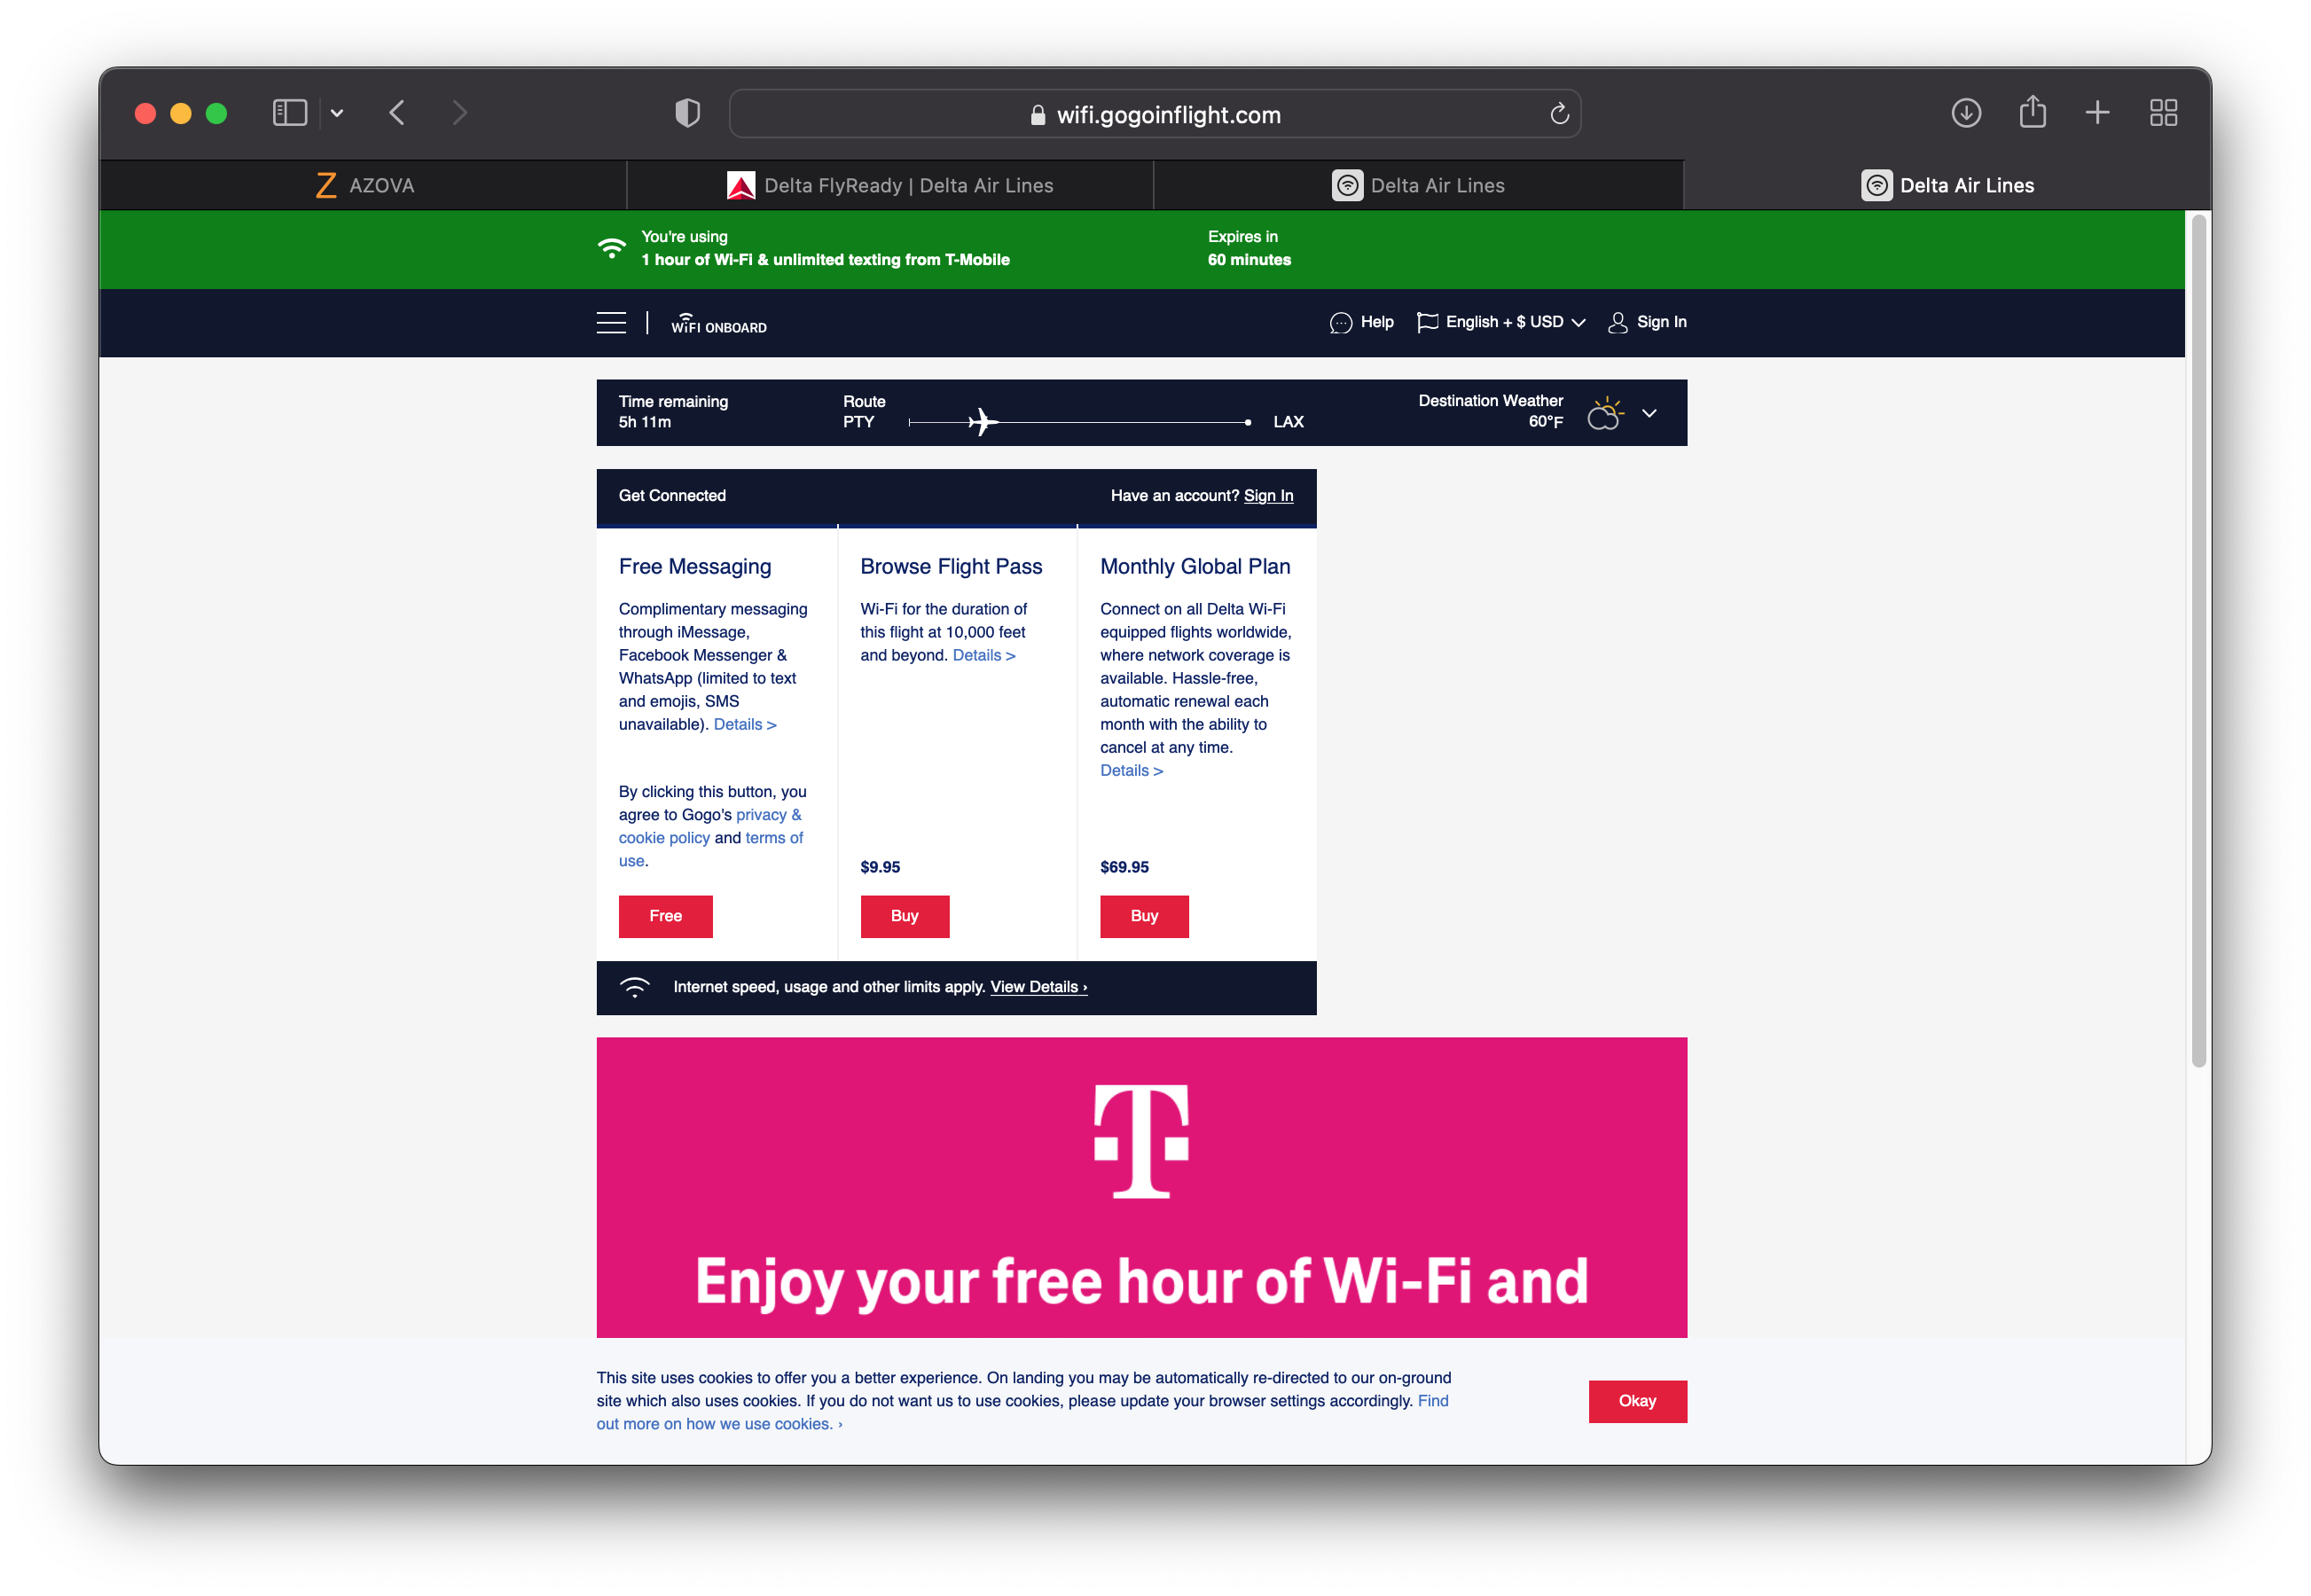
7. You should now be online if you have a green bar near the top like the screenshot, below.
Bonus: the MacBook Pro/Gogo wifi internet connection can be shared to a tethered iOS device. For whatever reason, Bluetooth PAN is broken on my Mac running Monterey, but connecting an iPad to a Mac with a USB cable and setting the mac’s System Preferences…->Sharing window gives the iPad internet access:

Double Bonus: spoof-mac, as described here (or you could also try macchanger), allows more than an hour on the same Mac (if you have multiple active/valid TMO lines). While installing spoof-mac, my Mac was stuck on “brew update –preinstall” for a few minutes and spent another 20 minutes(!) downloading files, so make sure you install spoof-mac well before your first free hour is about to end – and if you don’t get spoof-mac installed in time, there’s one more item you can try near the end of this post.
My mac’s MAC address went from c4:b3:01:bb:0f:09 to 00:05:69:4D:C6:48; however, when I tried this, instead of seeing the green bar as in step 7, a red bar popped up saying that only one device is allowed per number per day. This was odd and we figured browser cookies were also behind this nonsense, so we brought up a new tab in incognito mode and this allowed another hour on the same Mac.
Here are the Terminal.app commands we used to install spoof-mac with brew (takes over 20 minutes on Gogo) and then spoof your mac’s AirPort MAC to get another free hour.
1. Open Terminal.app on your Mac and enter the following commands one at a time:
brew install spoof-mac
2. Go into System Preferences…->Network->AirPort->Advanced… and select the Hardware tab. At the “Configure” contextual menu, change from Automatically to Manually. Click OK, then Apply, and close out of the Network preference pane.
3. Return to Terminal.app on your Mac and enter the following commands one at a time:
spoof-mac list

sudo /System/Library/PrivateFrameworks/Apple80211.framework/Versions/Current/Resources/airport -z

sudo spoof-mac randomize en0

spoof-mac list
3. The last command in the above step is optional if you want to see what your new MAC address is.
4. Return to step 2 near the top of this blog post to request another hour of Gogo through TMO.
Alternatively, if you were unable to install spoof-mac it may be possible to spoof your AirPort card’s MAC address at en0 by executing the following Terminal.app command:
sudo ifconfig en0 lladdr 00:bb:cc:dd:ee:ff
(change “00:bb:cc:dd:ee:ff” to whatever you want your MAC address to be)
